Legendary aircraft designer Clarence “Kelly” Johnson designed a sleek, simple jet fighter that helped take America into the jet age.
The Bell P-59 Airacomet was America’s first jet powered aircraft, but it would be Lockheed’s Kelly Johnson who would design the jet that would make it to the flight line first. During the last months of World War II, the U.S. was struggling to catch up to its own Allies as well as the Luftwaffe. The British Gloster Meteor was already in service knocking down speedy “Buzz Bombs” headed to targets in Britain. The Messerschmitt Me-262 was slashing its way through allied bomber formations. America was left tinkering on the cusp of “the Jet Age” at a small air base in the California desert.
With the Bell airplane’s lackluster performance, the door was open for Lockheed to step up. Kelly Johnson and his “Skunk Works” crew would produce an entirely new jet fighter in only 143 days. The clean lines of the P-80 Shooting Star had the look of the future that the fledging “Air Force” was looking for. Clearly the better airplane, the P-80A was still a handful and a number of accidents during testing hinted at a steep learning curve. The P-80 had one toe in the future and one in the past. without an ejection seat, and a little underpowered at first, the jet was quickly improved and would see yeomanlike work during the Korean War as the newly designated F-80C.
But first …
The Kit
In 2013 Hobby Boss released a Lockheed F-80A Shooting Star, the first of a series of three different versions including an RF-80 and an F-80C. Technically speaking, they’re all the same kit, with the exception of a few new parts for the reconnaissance nose section of the RF-80. However, with a few minor changes, the “F-80A” can be backdated to depict an earlier P-80A.
In 1948 the newly formed U.S. Air Force changed their designation system so that the P-80 (P for pursuit during World War II), became an F-80 (F for fighter). Initial production versions of the new jet did not have an ejection seat, nor did the airplane have a radar in the nose, the technology hadn’t quite caught up to the era of the jet fighter.
Getting Started
Start with the cockpit painting it an interior “chromate” green (FS 34151). Replace the very nice seven-piece ejection seat with a simpler World War II style seat and harness. A spare resin seat originally meant for a P-47 will do the trick. Behind the pilot, a simple armored headrest can be cut from plastic card. The cockpit assembly sits on top of the nose gear wheel well along with the nose gear strut.
Place the six machine gun barrels into their corresponding slots on the inside of either side of the nose. Install the intake plates (parts A4 and A5) and sandwich the completed cockpit and wheel well between the two halves of the forward fuselage. Use simple white school glue to help anchor a number of small lead fishing weights in the nose to prevent the airplane from becoming a “tail sitter.” Remember the rule of thumb that if you think you have enough weight, add more.
Making Choices
The model is designed to give the builder a choice in displaying the fighter with the rear removed to show off the early jet engine or as a complete jet. To assemble it in one piece, discard part E19 to help lighten the rear of the airplane. Assemble the two rear fuselage pieces and add the interior exhaust pipe. Add the horizontal stabilizers and attach the completed tail to the forward section of fuselage.
On to the wings. Cement the pieces that make up the landing gear bays into their positions on the lower section of the wing, painting them interior chromate green. Before attaching the pieces of the upper wing, dry fit the assembly to the fuselage. The fit is tight and sanding along the wing root edge will be needed to ensure a hint of dihedral. Do not use the underwing hard points, save the 500lb bombs and the larger “Misawa” drop tanks for your Korean War era F-80C. Attach the wings to the fuselage and fill and sand where needed, then set the completed assembly aside to dry.
Put together the landing gear, painting the tires a “rubber” black color and the hubs and struts aluminum. Paint the interior of the landing gear doors aluminum as well.
Backdating Details
Early production models of the Shooting Star were painted in an overall pearl-gray color (approximately FS 26622). Those early P-80s also had a single landing light in the nose that would be replaced by a radar in later F-80B and F-80C models. Using a liquid mask, brush over the small area on part 62, one of the kit’s clear parts, that fits neatly on the nose of the airplane. Refer to your research to get the size and shape of the area right.
After painting the model and adding a coat of gloss varnish, it’s time for markings. Use the kit decals for its stencils and other basic markings. Weathering should be minimal; these were new and well maintained jets.
Postwar Markings for the Jet Age
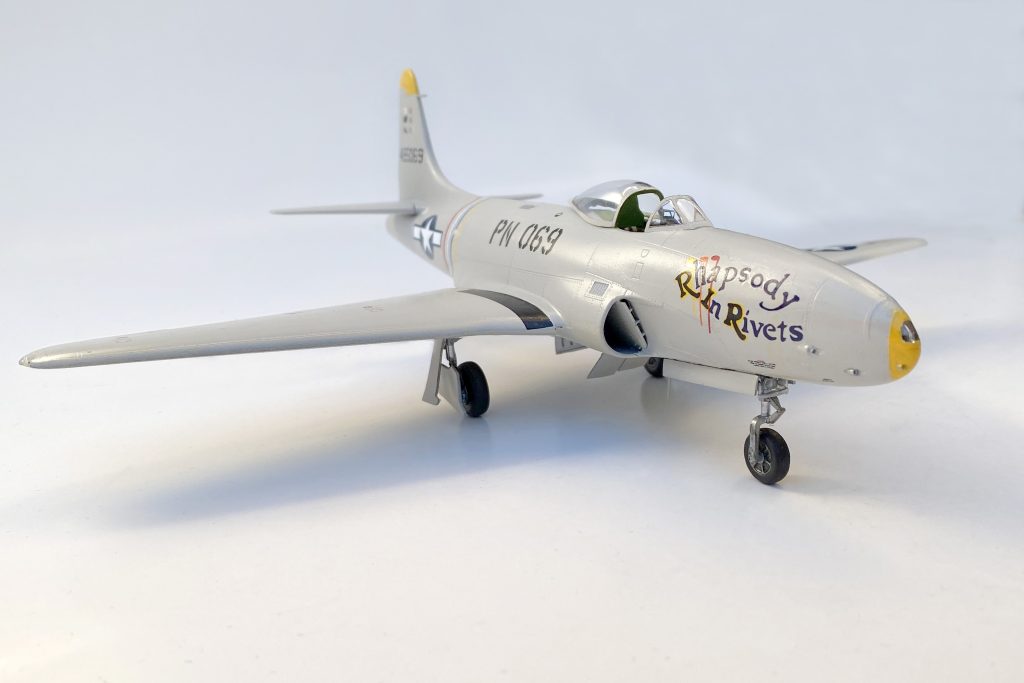
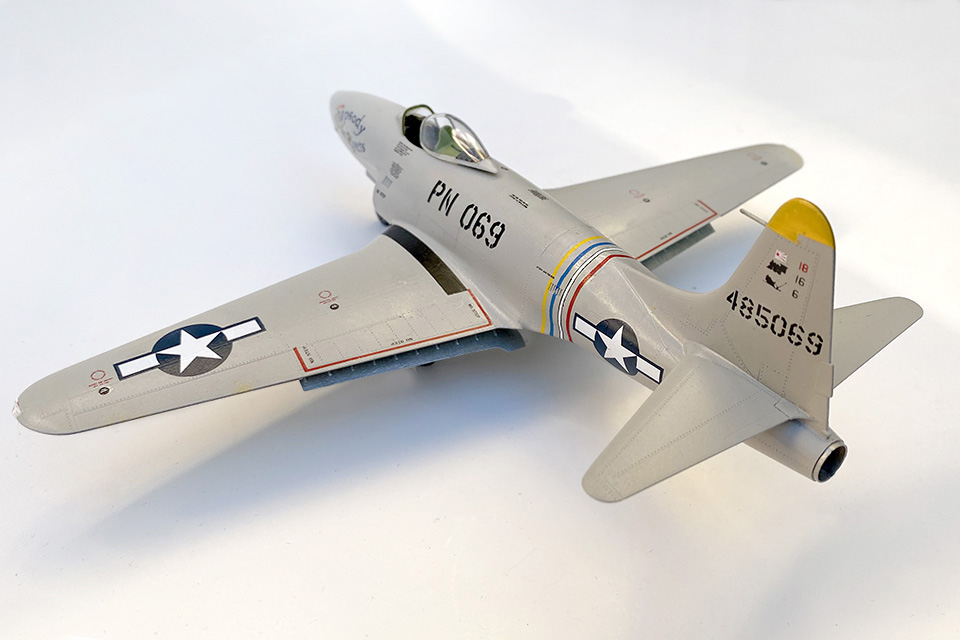
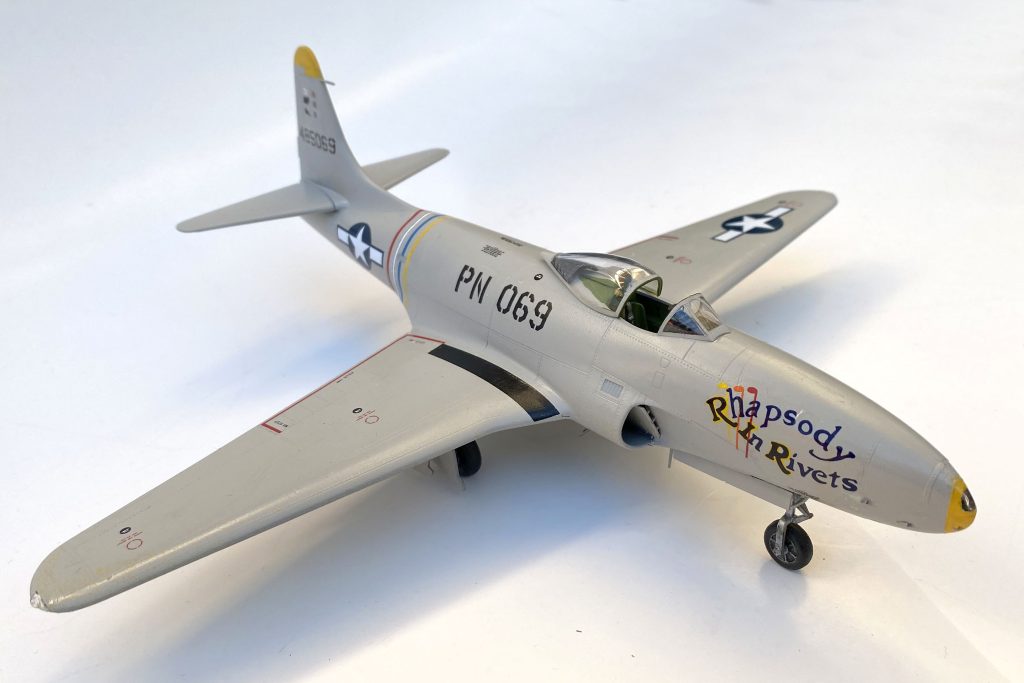
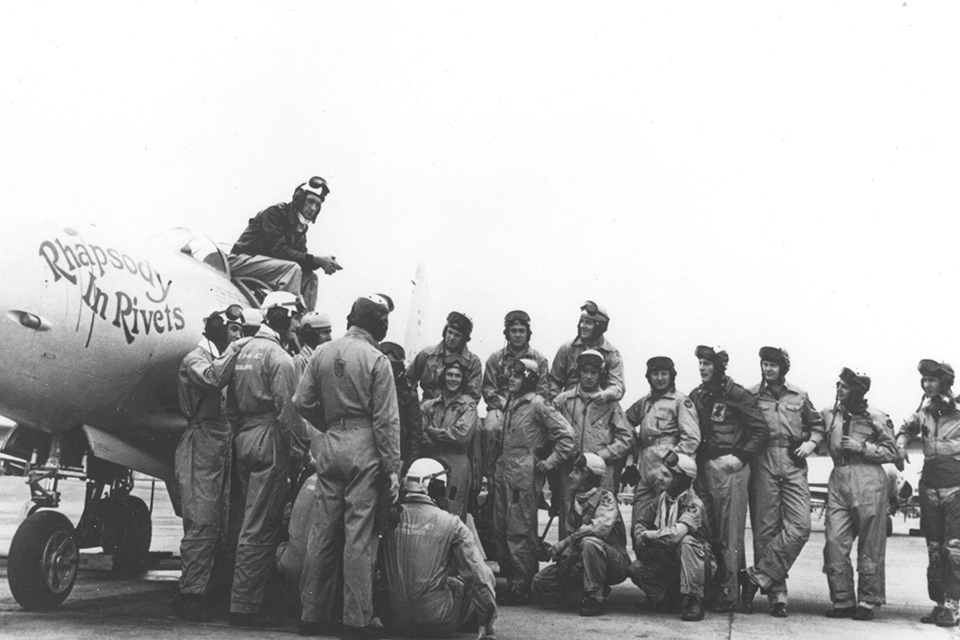
From the spares box, a well-cared for set of aftermarket decals (Super Scale set 48-35) has markings for the P-80A “Rhapsody in Rivets,” belonging to 412th Fighter Group Commander, Col. Bruce K. Holloway. In May 1946, the group was tasked with showing off their sleek new fighters, crisscrossing the country. Holloway, an ace in the Pacific during World War II, displayed his combat victories on the tail of his fighter along with many of his pilots, all combat veterans.
With decals complete and hit with a light coat of clear varnish, attach the pair of flaps to the wing and the landing gear, and the two small speed brakes underneath the airplane. Main gear doors are a two piece affair with one part attached to the wing and a second piece attached to the gear strut and tire. Glue in place the single antenna just behind the nose gear bay. The delicate pitot tube, normally seen attached to the leading edge of an airplane’s wing, is located on the forward edge of the rudder.
Mask and paint the bubble canopy, attaching the finished pieces to the cockpit. Pose the canopy slid back to show off the detail in the cockpit. With the cockpit canopy in place, your Lockheed P-80A is now ready to display with your collection of early jet aircraft.