Our favorite nuclear lizard rose from the ashes in a classic origin story remake and brought along some aviation history.
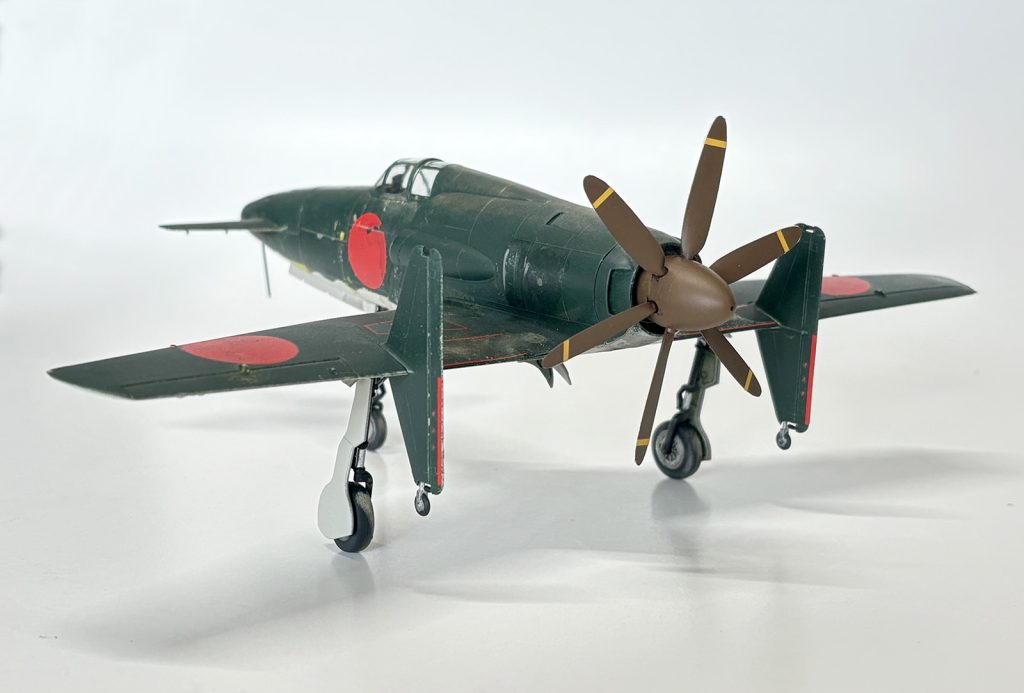
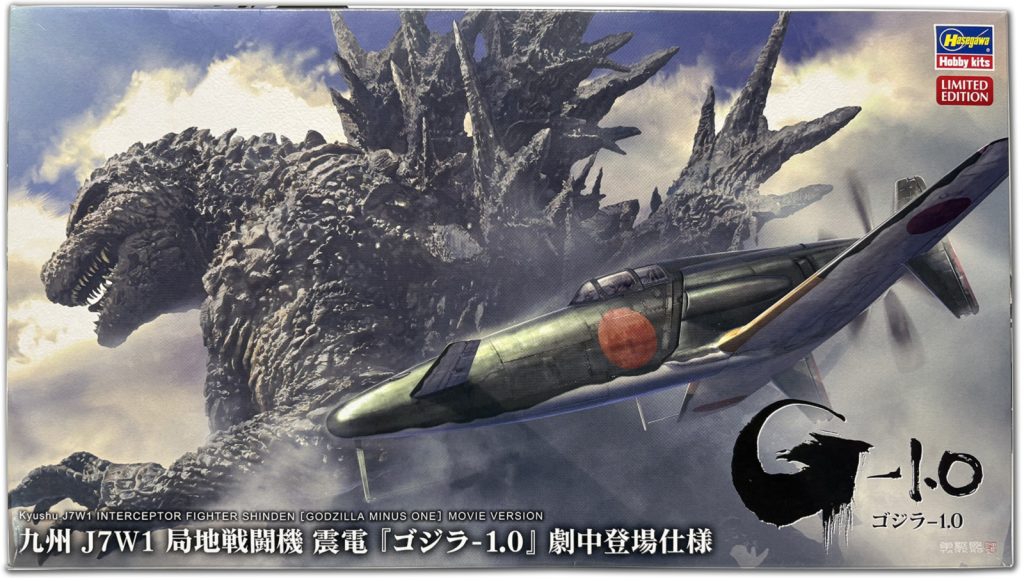
Set in the days after the end of World War II, 2023’s Godzilla minus One is a retelling of the beginnings of the classic thriller franchise. The dramatic ending of the movie finds the hero, a former pilot, set to take a unique, futuristic looking fighter plane into battle against our favorite mutant lizard. Screenwriters tapped actual aviation history by enlisting a Kyushu J7W Shinden fighter for the climactic final battle. The arrow shaped Shinden was a prototype design developed near the end of the war but never saw operational use. The Shinden was the perfect mix of historical accuracy with a hint of science fiction.
The Kit
Hasegawa first released their 1/48 scale J7W in 1981 but signed up with Toho studios to get on the Godzilla bandwagon for this 2023 rerelease. The kit is classic Hasegawa, crisp molding with little flash and nicely recessed panel lines. The instructions are simple and straightforward.
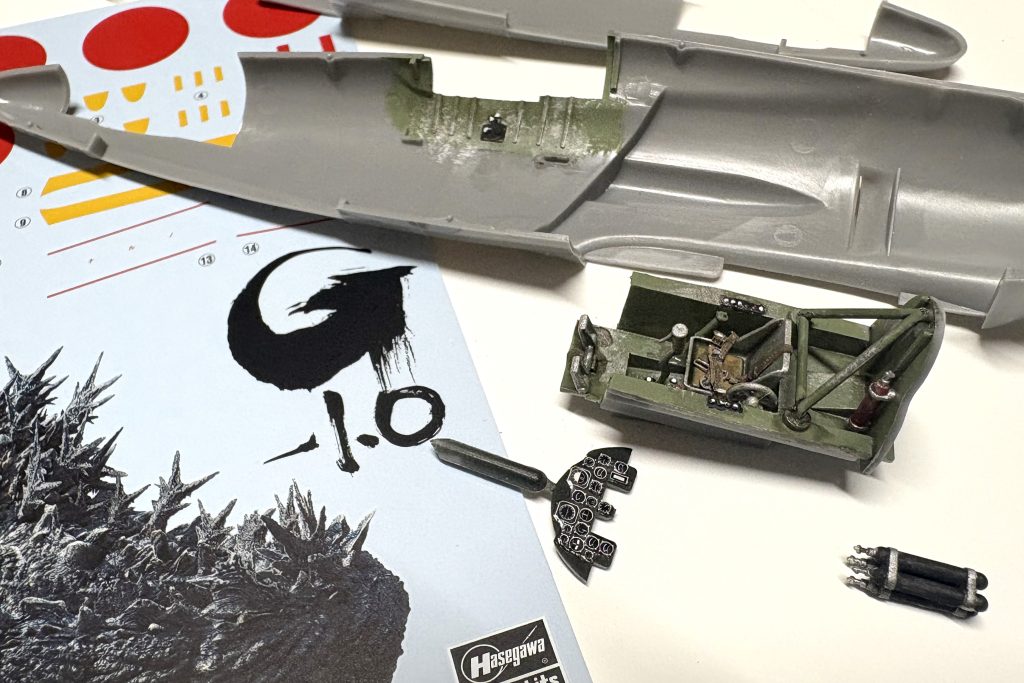
This release of the kit doesn’t simply change the box art. A number of details are called out in the instructions. Deleting the tiny outrigger wheels at the base of the vertical fins, not adding the fourth cannon (to make room for the explosive that blew the monster’s head off … or did it?) and deleting the World War II pilot figure. There’s even a pretty neat decal of the monster along with the set of generic Japanese markings.
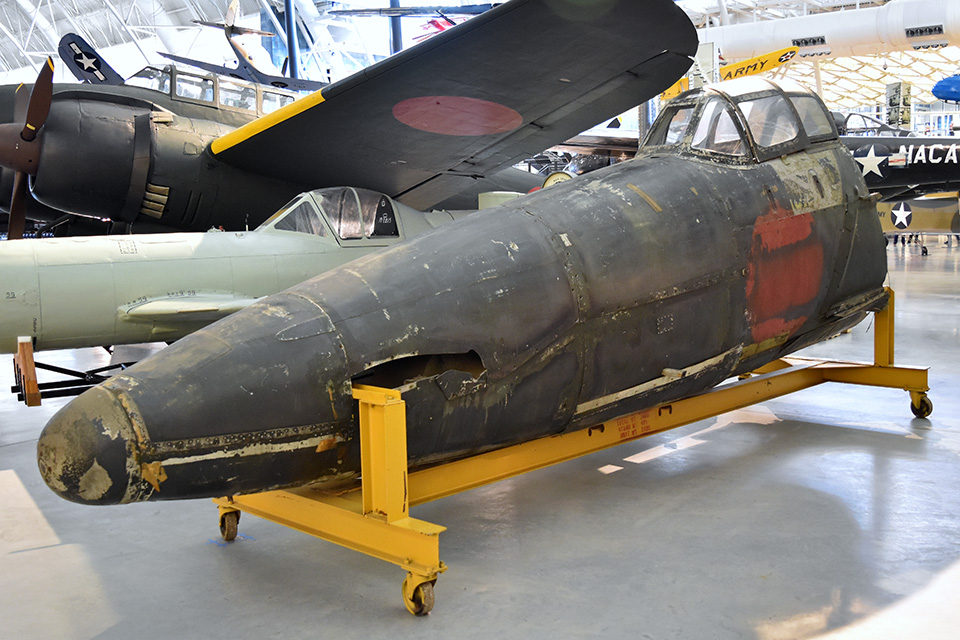
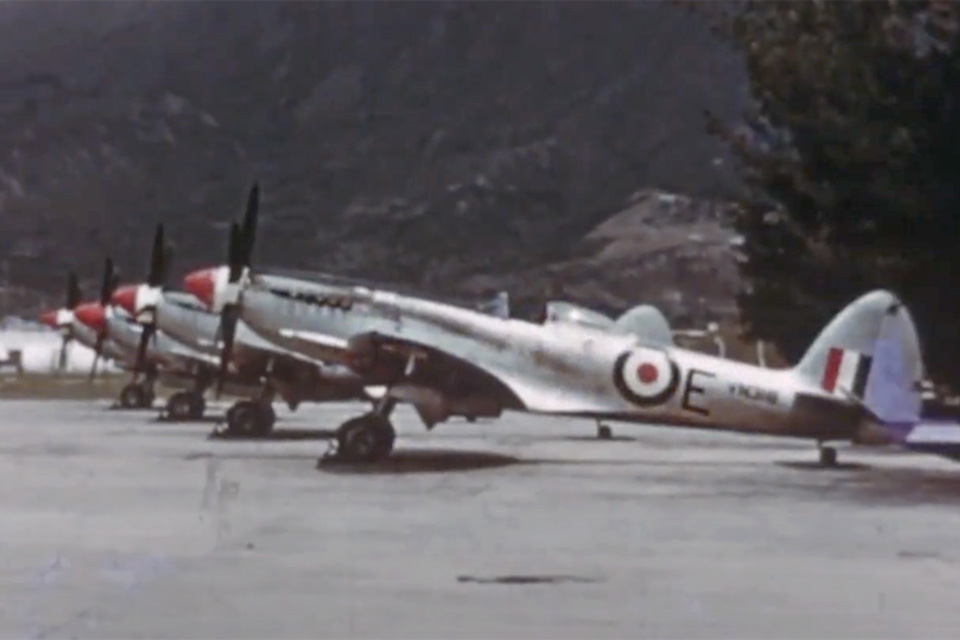
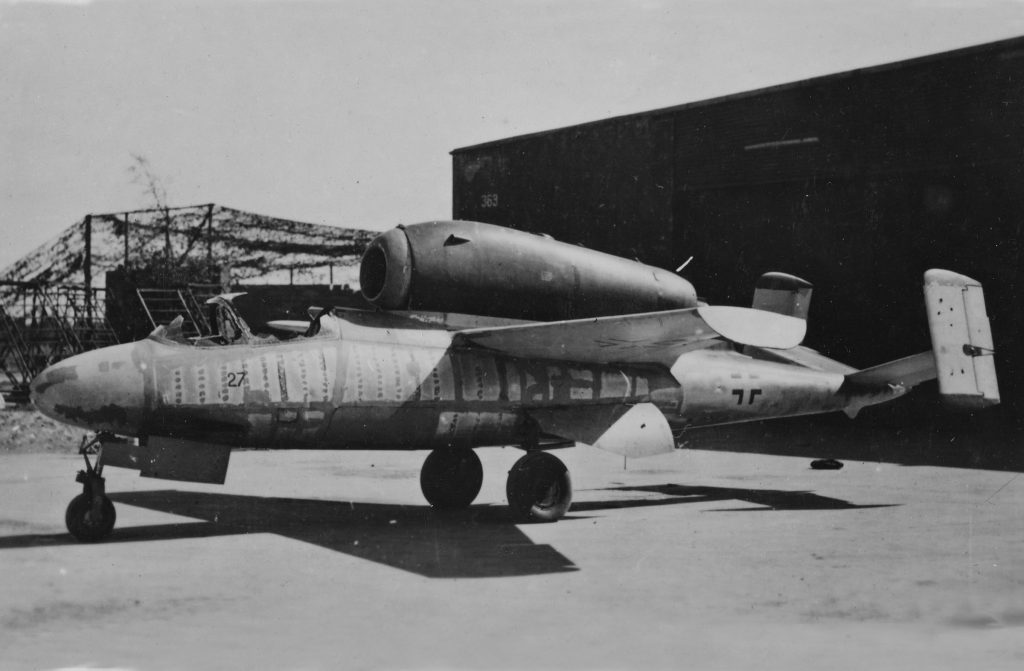
The Smithsonian’s National Air and Space museum has the last surviving example of this unique fighter and the photos they have are just what’s needed to serve as reference for this kit. The forward section of the cockpit is on Display at the museum’s Udvar-Hazy Center. It’s an airplane that appears a little worse for wear but that’s the “look” I’m going for.
Getting started
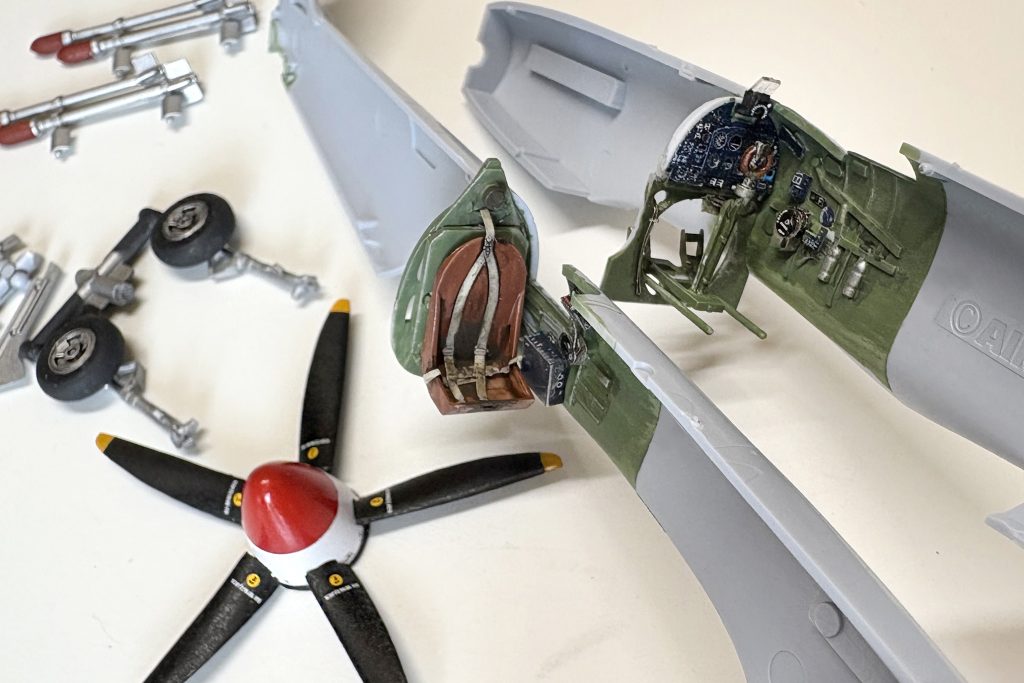
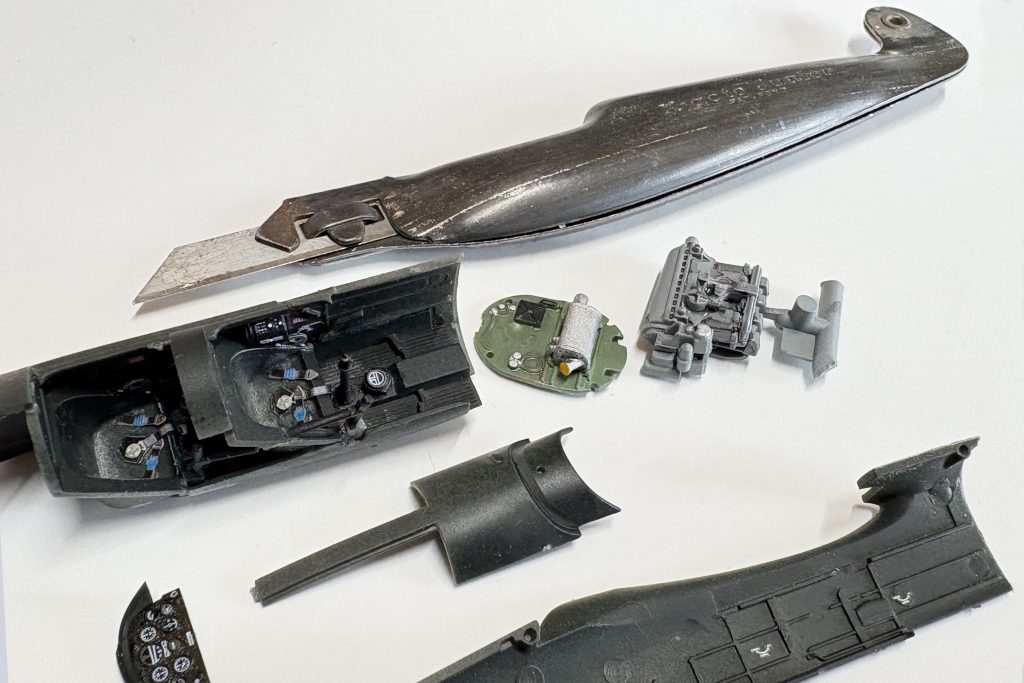
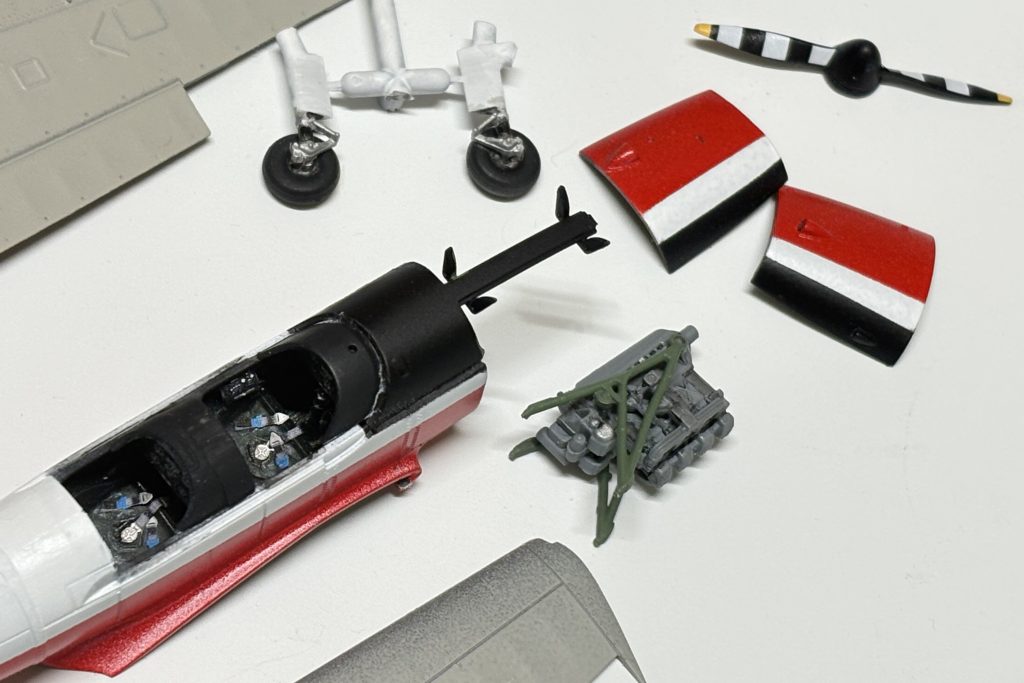
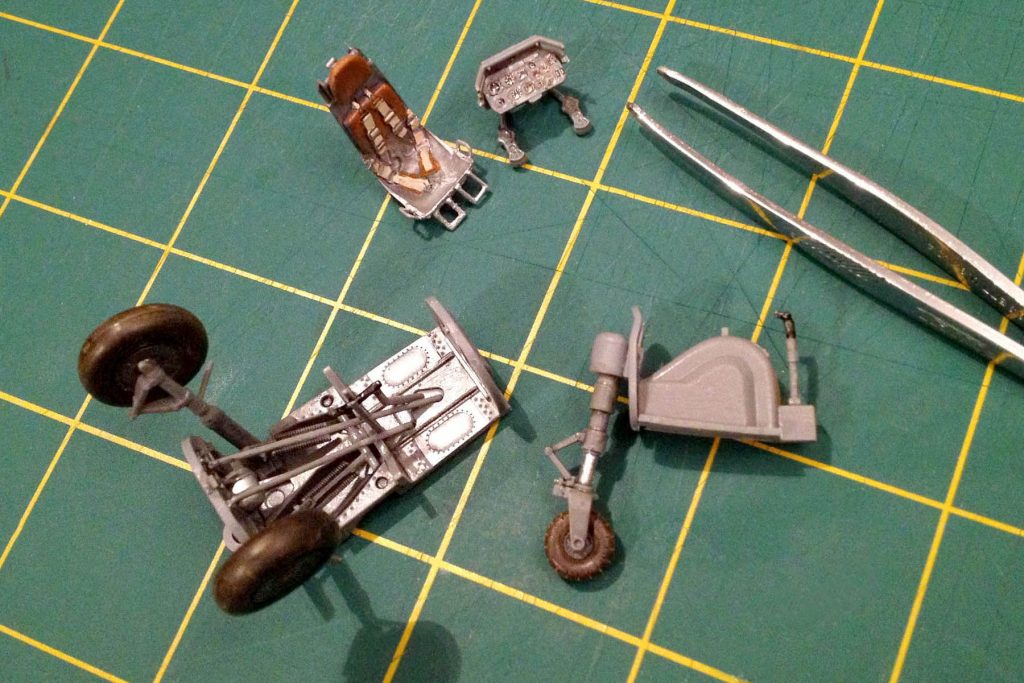
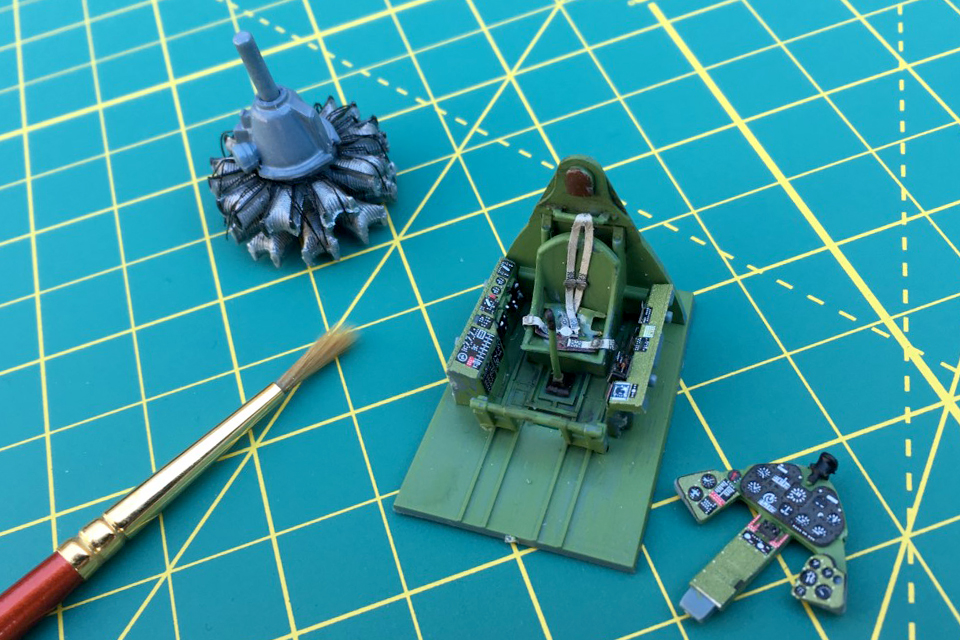
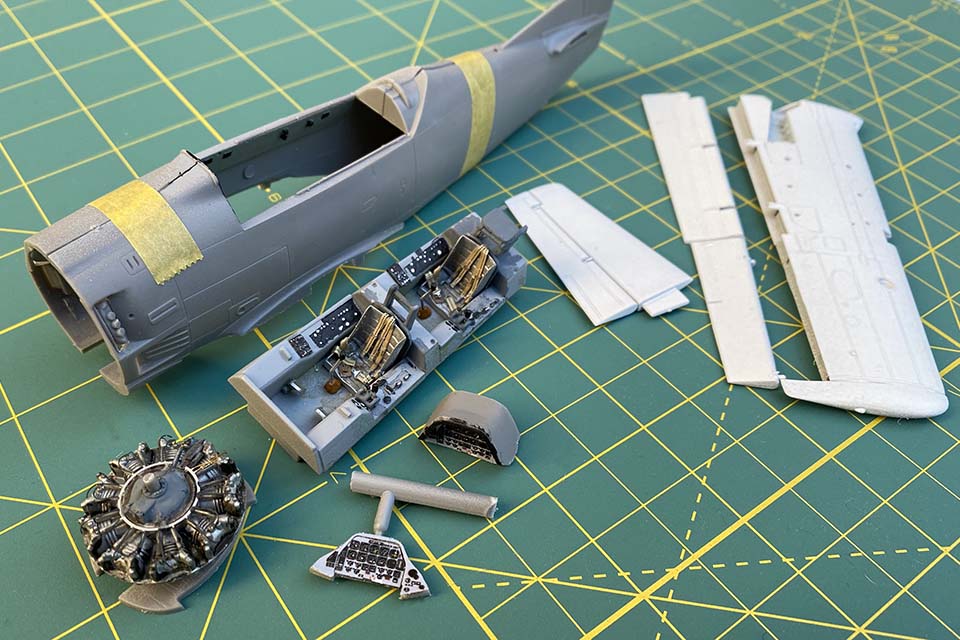
Start with the cockpit, painting the interior the standard Japanese interior grayish green. Dry-brushing a bit of aluminum and a dark colored wash to pop out some detail. Use a toothpick dipped in a bit of paint to highlight knobs and switches. Paint the control panel a deep dark gray, nearly black. A decal for the cockpit dials needs a liberal bit of setting solution to get the decal to snuggle into the nooks and crannies. An aftermarket seatbelt is all that’s needed to finish detailing the cockpit.
Multitasking masking
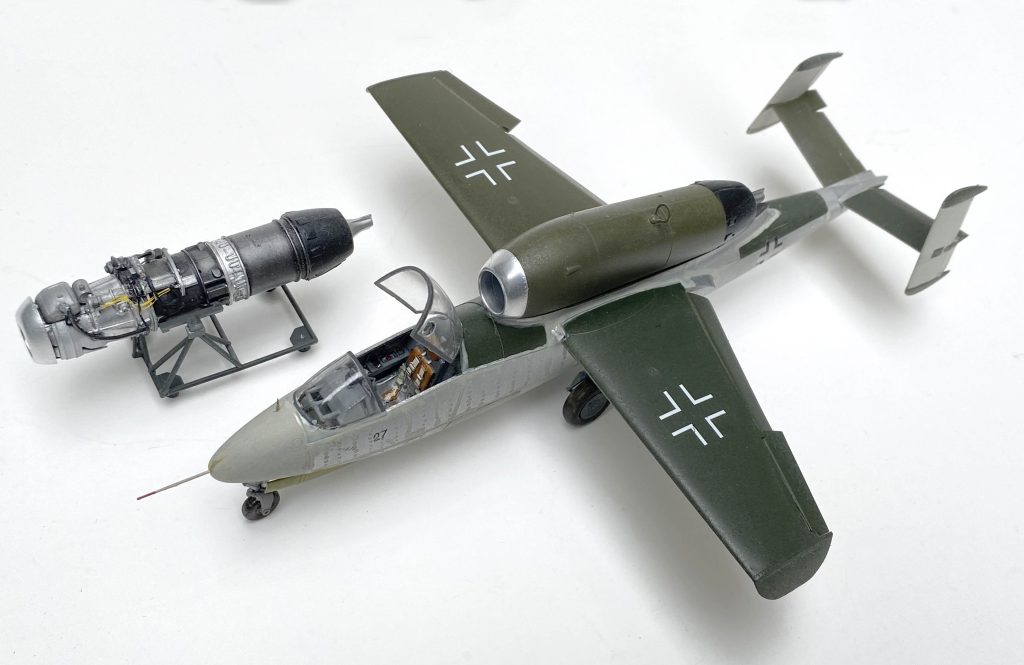
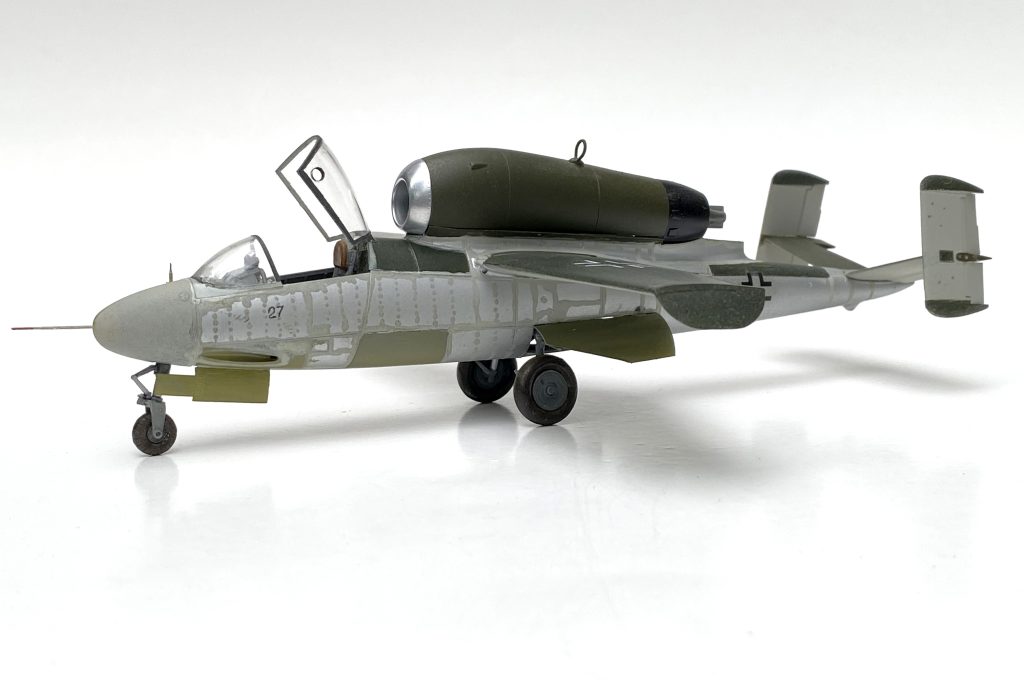
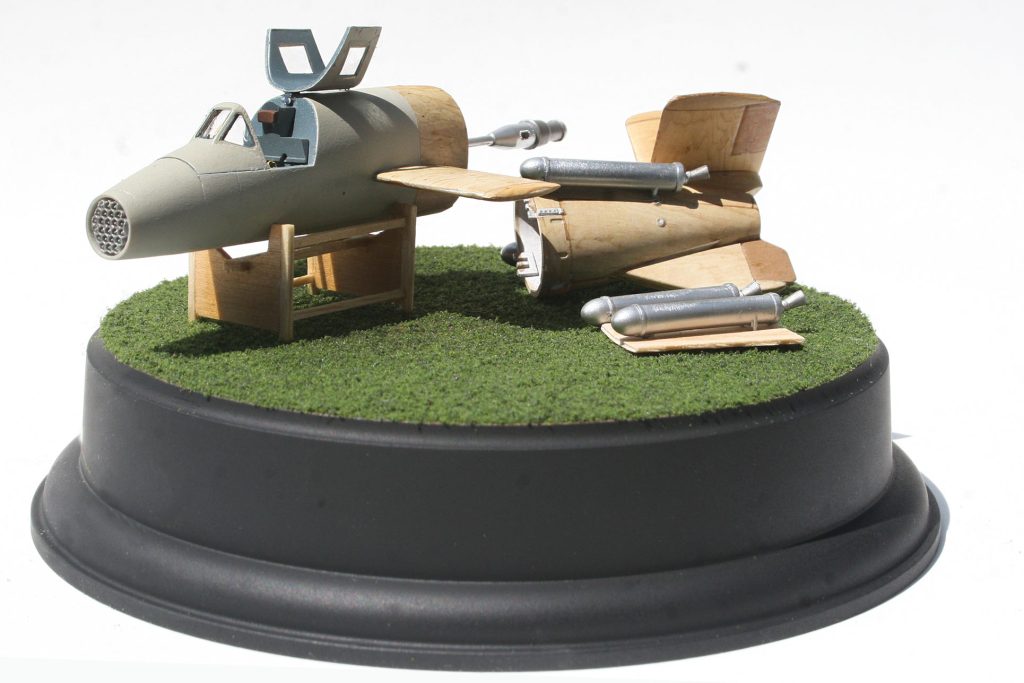
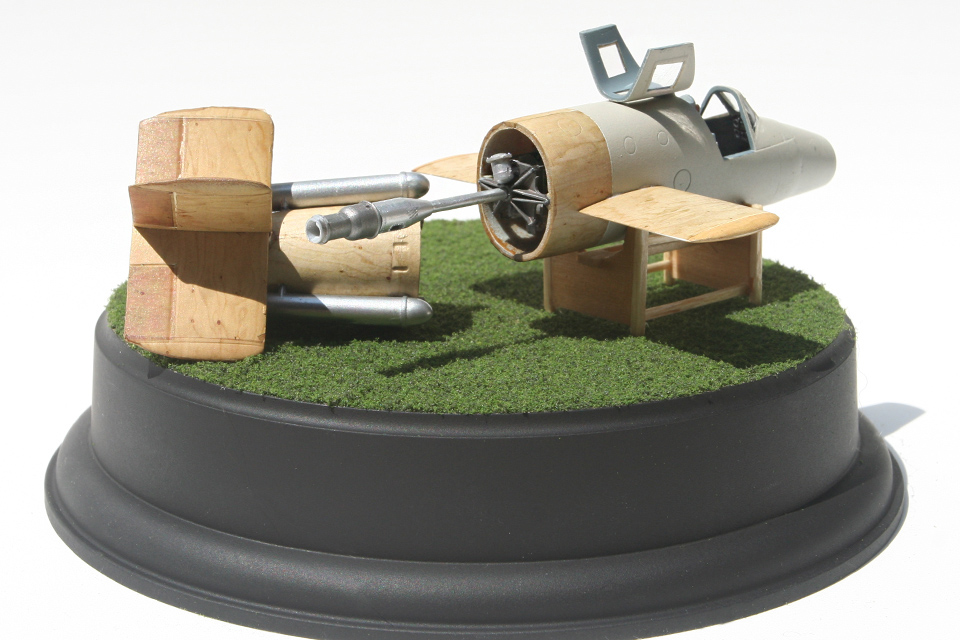
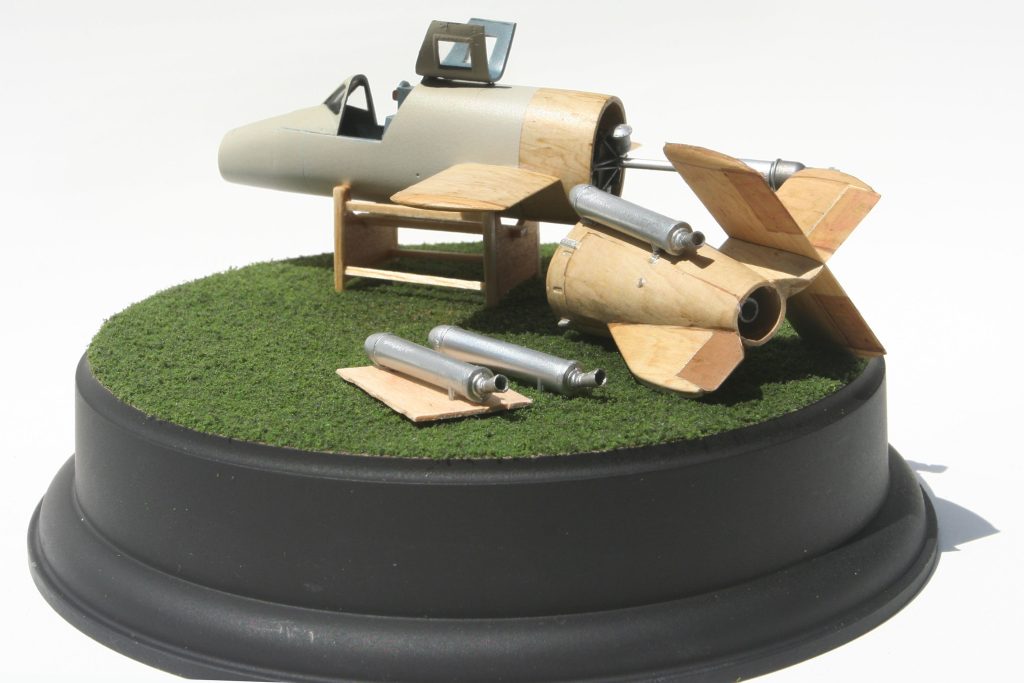
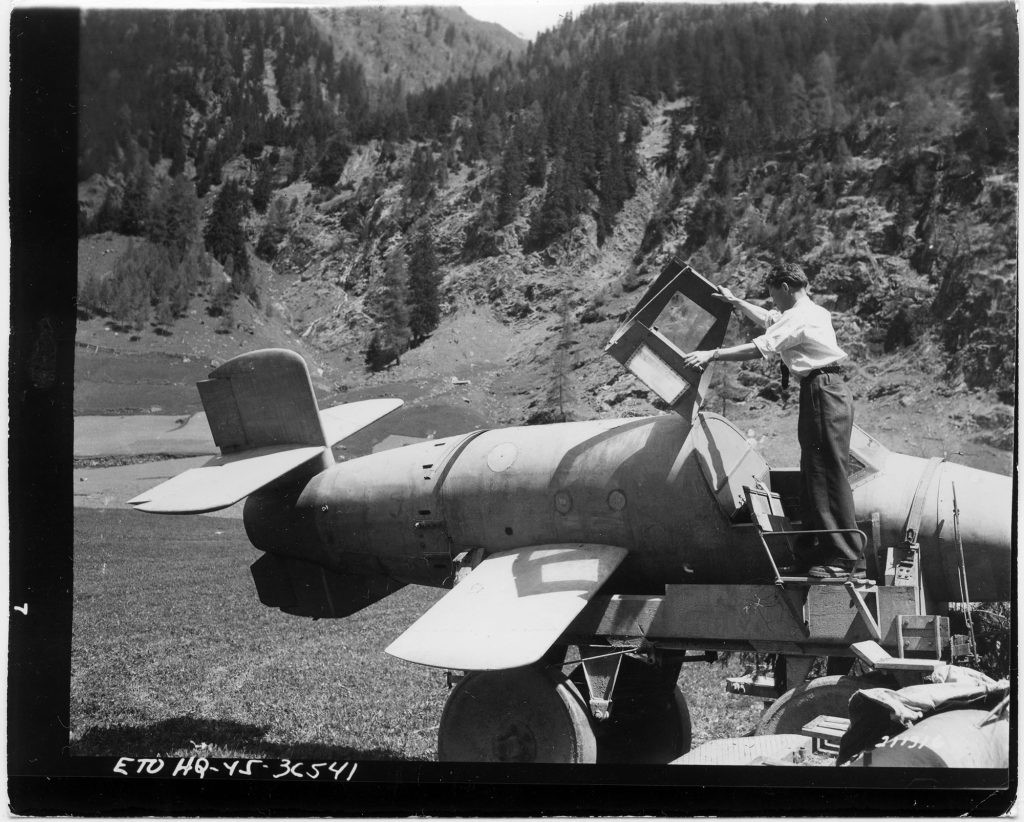
Allied forces discovered a number of incomplete Shinden fighters at the end of the war. One look at the unique canard design and five bladed “pusher” engine and it’s no surprise that engineers wouldn’t have wanted a closer look.
What they found looked a bit worse for wear, pieced together and a little “unfinished,” it’s an interesting look that requires some masking, some more masking and a little patience.
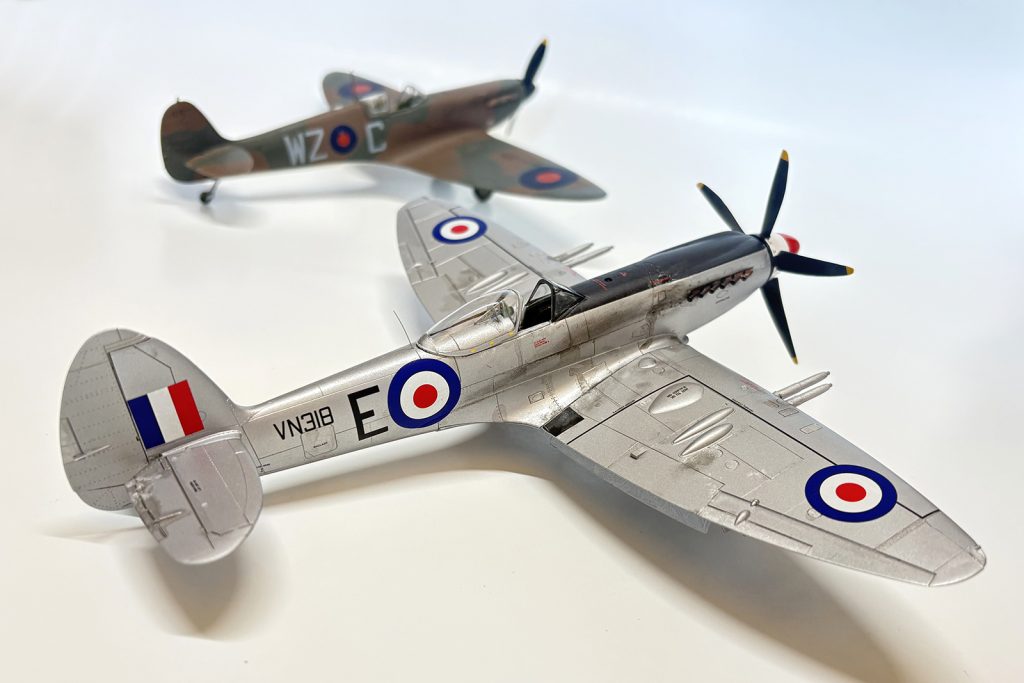
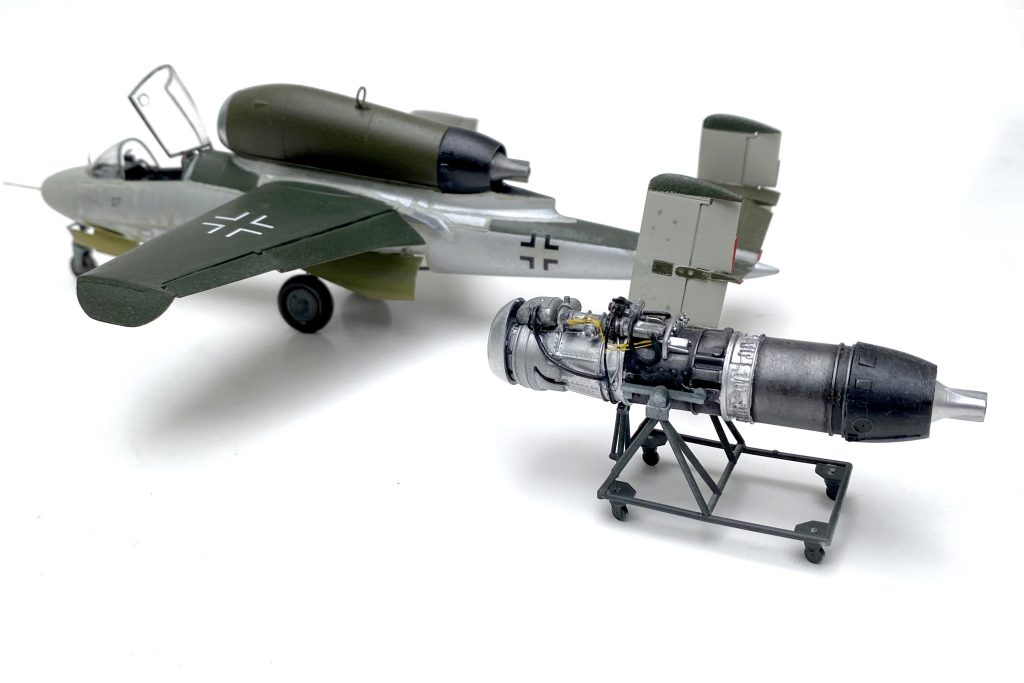
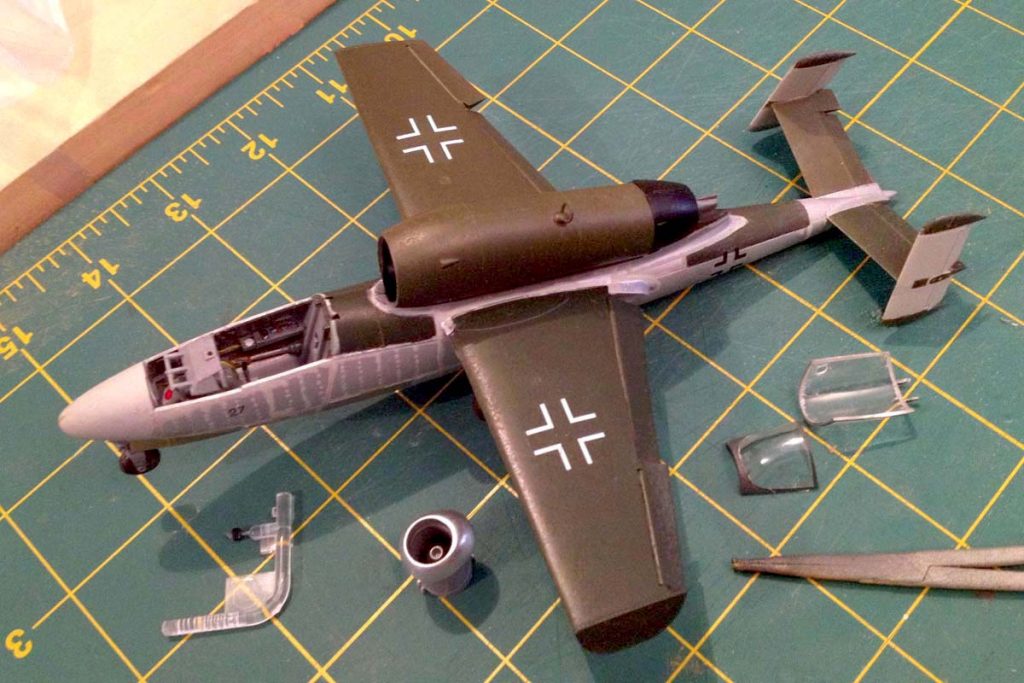
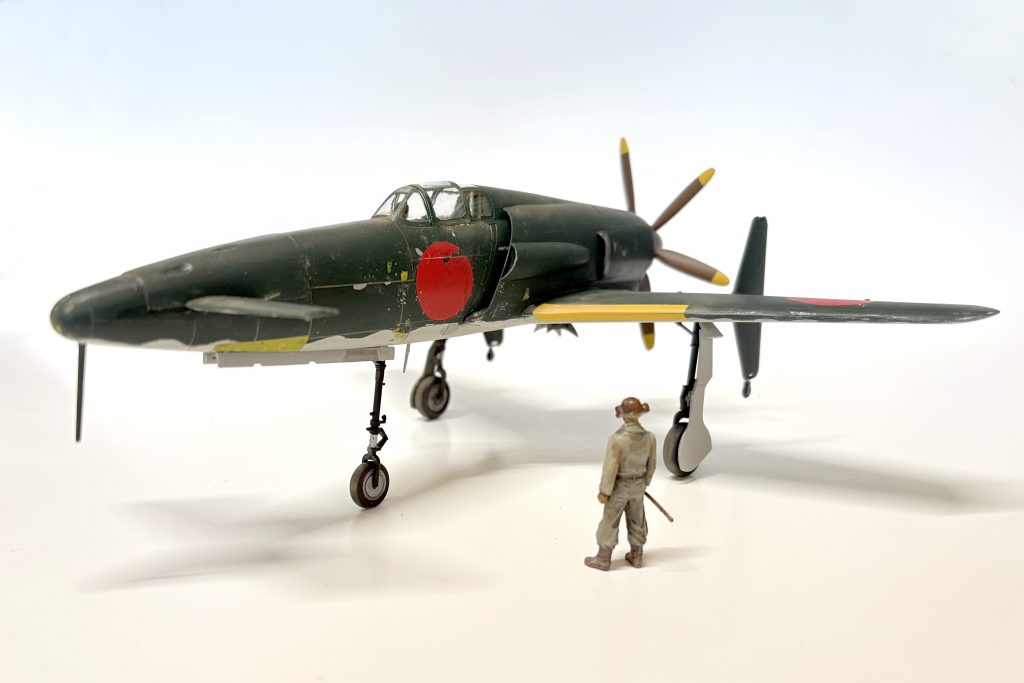
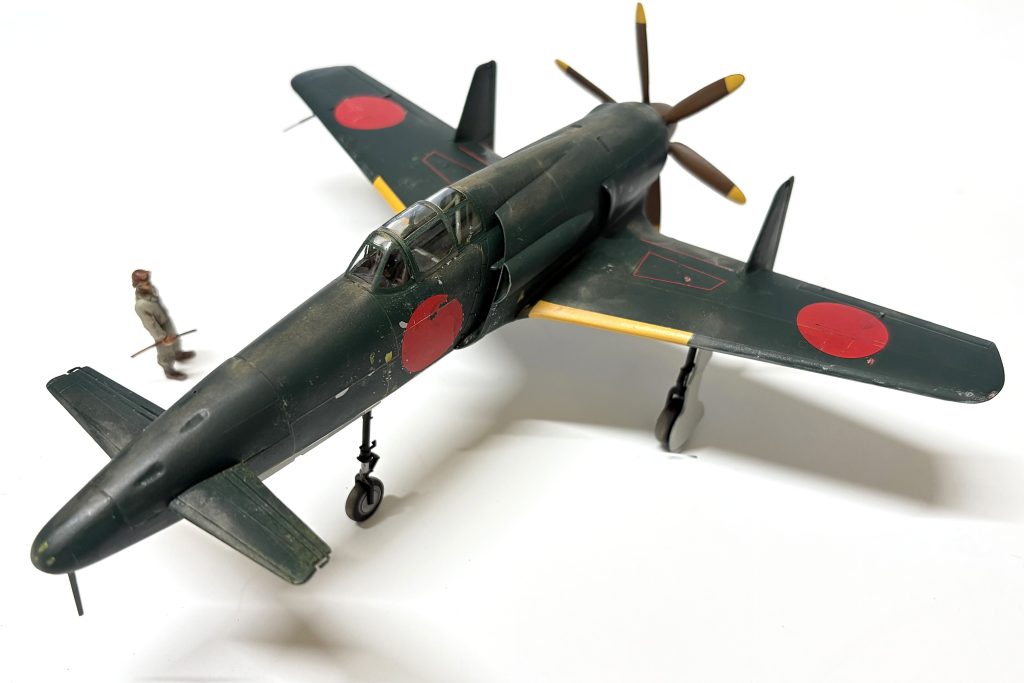
Following the instructions, assemble the wings along with the vertical “rudders,” I’ll keep those outrigger wheels on my model. Mask and paint a couple panels aluminum silver and/or a pale green gray “primer” color. Using photos as a guide, add small specs of a masking solution where natural wear and tear would be. Once the liquid mask is dry, paint the wing assembly a dark Green over a pale gray/green. I’m using Tamyia’s Japanese Navy Dark Green; AS-21 and USAAF Light Gray; AS-16, with TS-1 Red Brown for the spinner and propeller. While there are plenty of opinions, veritable scholarly dissertations on what the “correct” colors should be, I’m relying on my own standard “TLAR” system (That Looks About Right), matching it to my vision of what the airplane might have looked like when it was found in an abounded hangar by a group of curious allied aeronautical engineers.
That well worn look
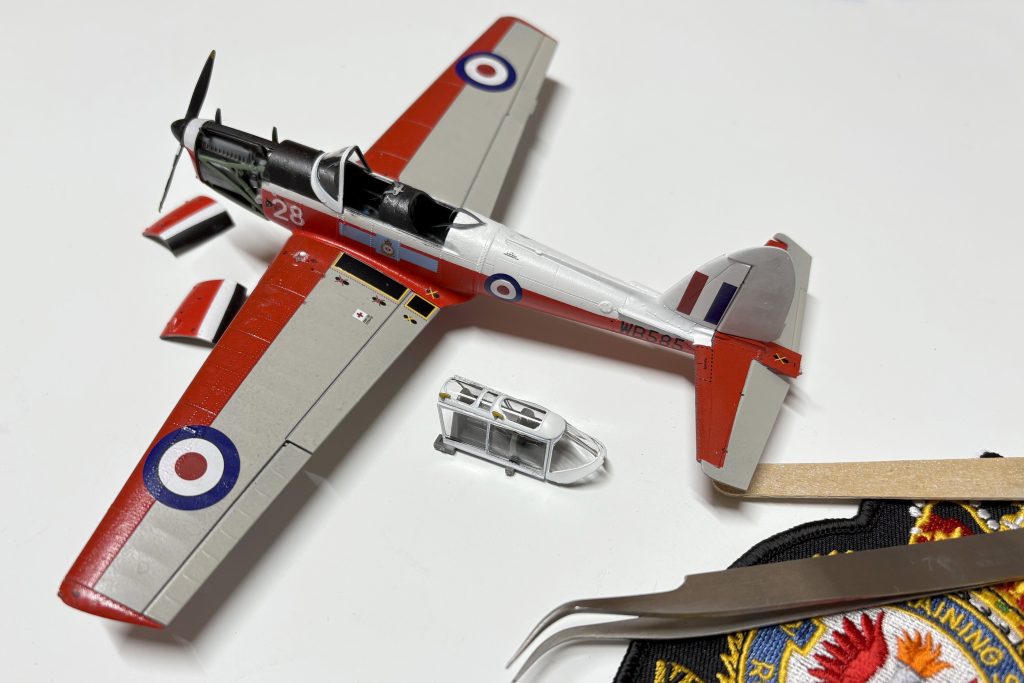
After scrubbing the liquid mask from the wings, set them aside to dry. Take the finished cockpit and fit it between the fuselage halves along with the nose gear wheel well. Part B11 covers the area with the forward canard “wings” and the machine gun bay. In this case it’s also the perfect spot for a few lead weights so that this unique fighter sits properly. With weight in the nose and the fuselage together, mask and paint the fuselage in the same fashion as the main wings. With everything dry, assemble the wings and fuselage. Set the nearly completed Shinden aside to dry.
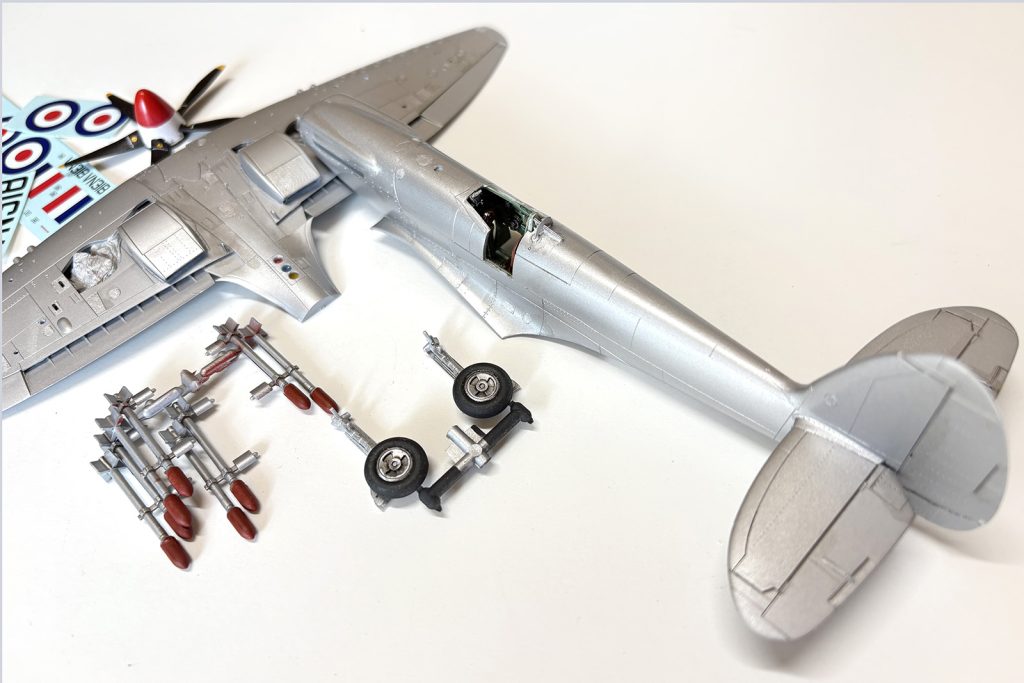
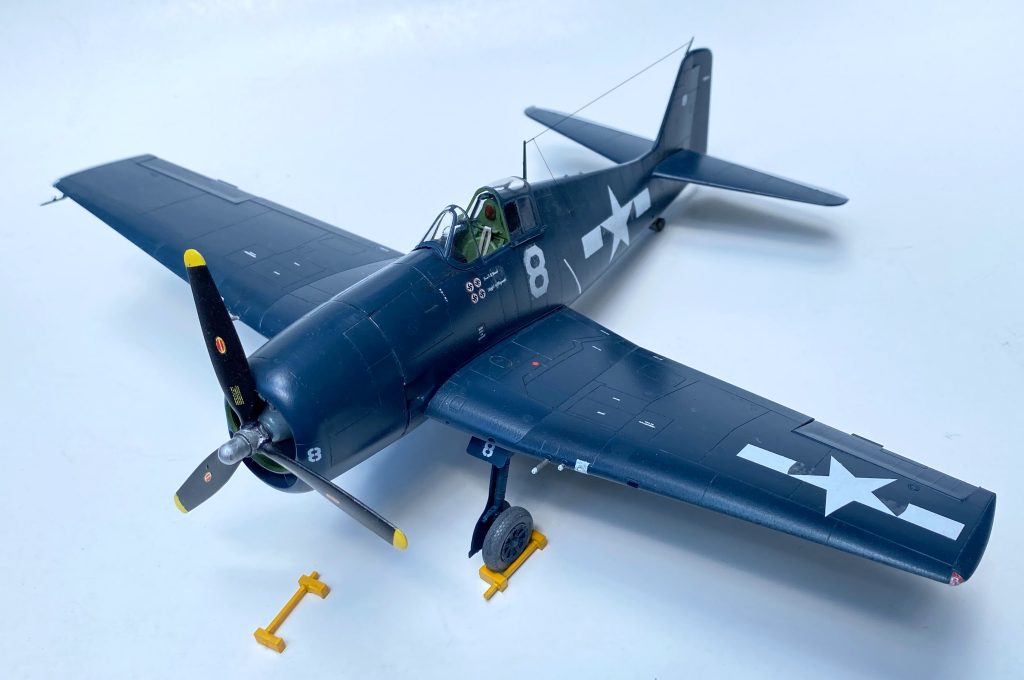
Paint the landing gear struts black with chrome silver for the hydraulic oleo. Tires should be a black “rubber” color with aluminum hubs. I used a mask set from the Czech company Artscalekit, ASK, (ASKM48125) that made painting much easier. The set will do the same for the clear canopy parts. With the landing gear completed, set them aside.
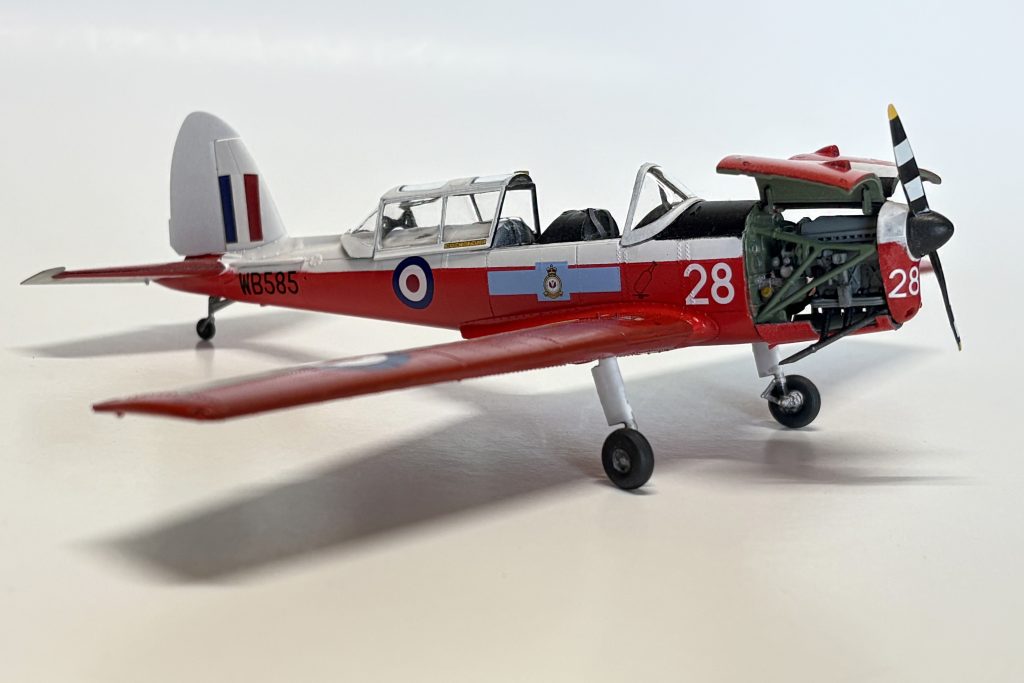
I rubbed down the model with the finest grit sandpaper I had, to dull the finish and give it a generally scuffed up appearance. Tamiya makes a number of weathering sets, complete with an applicator that will add some dust and grime to the finish. Set “A” (Sand, Light Sand, and Mud) gives me the colors I’ll need and comes with it’s own little applicator. Satisfied, it’s time to attach the landing gear, a pair of antennas and the five bladed propeller that pushes this model across the finish line.